This post may contain affiliate links, meaning I earn a commission if you purchase through clicking on a link, at no additional cost to you. It helps me continue to share my resources with you!

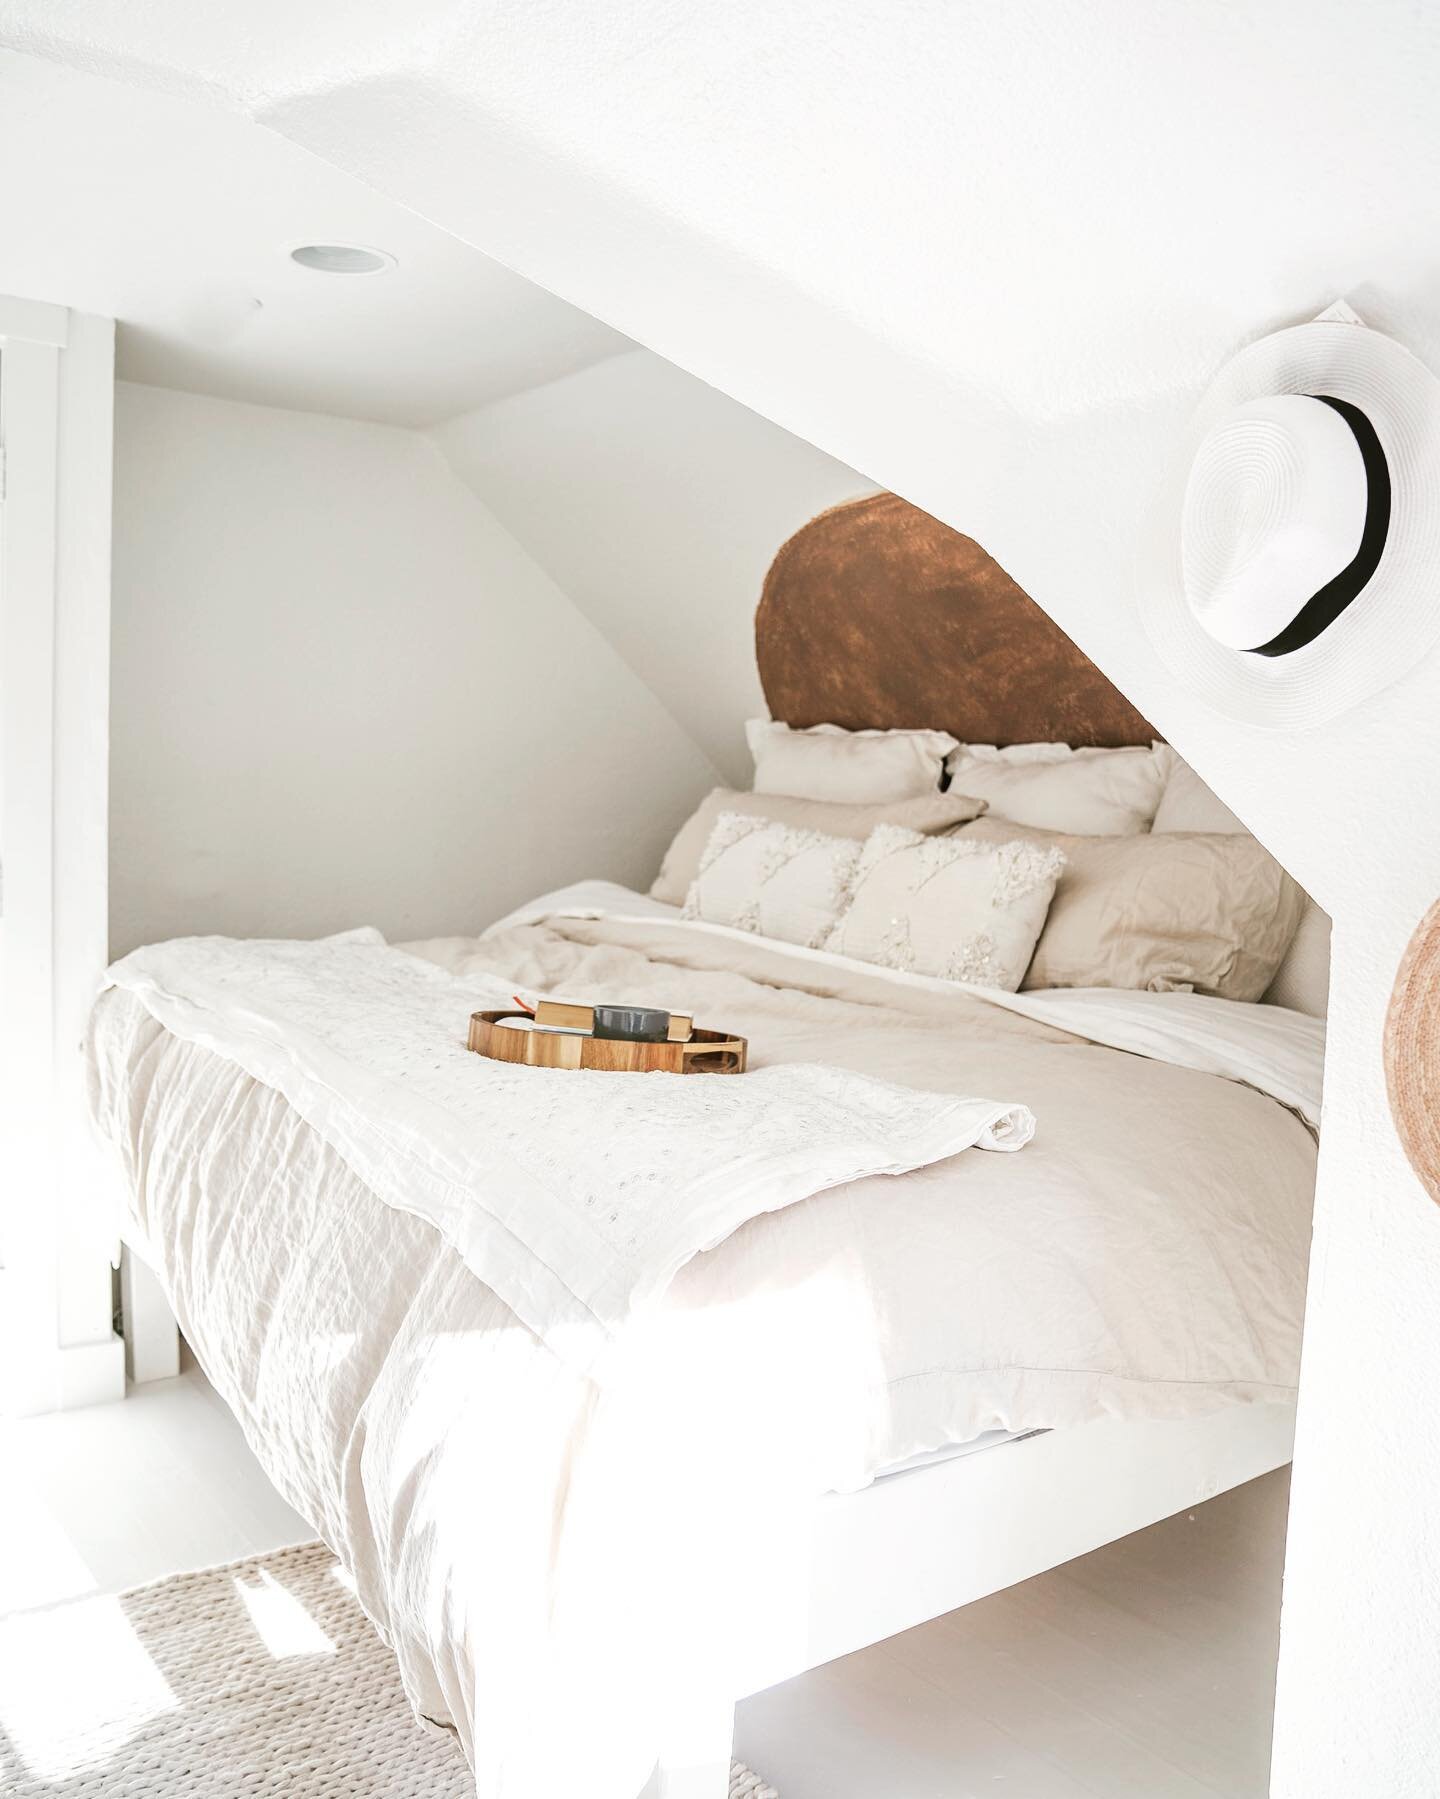
image description for accessibility: bright white and light filled window seat in an attic alcove, white walls and floor, straw hats hanging on the wall, hand hammered lantern hanging from ceiling, and wooden blanket ladder leaning against the wall.
You have a window! you want a window seat! You have zero woodworking skills. You don’t even know where to start. You think a pilot hole has something to do with the airline industry.
I’ve got you- you’re in the right place. This is the world’s easiest woodworking project, and you basically can’t mess it up. It’s a perfect first project for your house.
First up, you’ll need to gather your materials.
For this bench we used just 1 sheet of plywood. now, i’m not going to go into dimensions and measuring… because i know your alcove is going to be a different size than mine! we used another sheet to make the storage boxes underneath, but this tutorial will just be for the bench. This way, you can choose whatever kind of storage option you’d like under your bench- be it baskets, bins, or whatever you’d like!
You’ll need just four basic ingredients:
if you don’t already have tools, you’ll need these to get you through this project:
If you don’t want to invest in the table saw, you can get away with a circular saw for this project as well. You can also see if you have a Tool Library in your neighborhood where you can borrow tools just like you borrow books!
Of course, you’ll need a little bit of primer and then paint in your preferred choice of colors, and some cushions!
We got ours from wayfair, and are hands down, the softest, cushiest cushions i’ve ever sat on in my life. They are EXTRA ya’ll. They are the Caroline Okun Moorish moroccan square pillow cover and insert if you want some of your own. this is not an ad- i just love them.
They are so good, that we actually based our window seat depth off their depth (23” square) so everything would be comfy cozy. When we placed them in, my husband actually said “umm… are these TOO cushion-y?” the answer is no. One can never have too cushion-y cushions.
STEP 1: prep your space.
We filled nail holes with sandable wood filler, gave the walls a fresh coat of paint, and primed our super old, aluminum windows. I’d love to switch them out to something more energy efficient, but that project is slated for later. In the meantime-I wanted to give them a little update, so I spray painted them with primer, and then black.

image description for accessibility: white attic window alcove with nail holes filled before getting a coat of paint.
STEP 2: bench board
Measure your space, and cut your top board to fit. Our house is old, and not square, and you can see the gaps in corners. No problem! If you’re painting your space, you can use a little bit of caulk to fill in those gaps before you paint your window bench. Ensure your bench is level with your… level.

Image description for accessibility: detail photo of the window and top bench of window seat.
STEP 3: side leg supports
Support your top board, with two side leg boards. Screw these side boards into the wall (ideally into studs, which you can locate on your wall with your stud finder), and then screw the top bench board into them for extra stability, screwing from the top of your bench down into the leg. Remember to drill a pilot hole in your board before you drill in a screw. This will prevent your board from splitting. If you’re unsure what a pilot hole is, do a quick youtube search!
If you live in an old house like we do, don’t gauge your ‘levelness’ off of existing structures like windows or floors. If you look carefully, you can see that there is a gap between our window frame and our bench- because our window is not actually level. But our bench will be! This also means that our side supports are not the exact same size as one another. we measured for true level, not house-level. When we sit on our bench, we don’t want to feel like we are tipping to one side or another. you can disguise any weird gaps with caulk, and cushions.
smoke and mirrors baby!

image description for accessibility: detail of the window with bench seat below it, with side leg supports installed. tools scattered around floor.
STEP 4: leg supports
measure and add in your leg supports! Secure them by screwing from the top of the bench board, through the center of each leg, just like you did on the side supports. Remember, it’s important to drill pilot holes, because your support legs are pretty skinny, and can easily split. in the photo below, you can see an example of where we screwed in (the little black dot to the left of the windex) if you zoom in and look closely.
Again, make sure you measure each leg individually. Don’t assume they are going to be the same size if you live in an old and un-level house like ours!

image description for accessibility: window with bench, side support legs, and middle support legs installed, and trim on the bench.
STEP 5: finishing details
Measure and add in your trim! You can use a hammer and your finishing nails (little itty bitty nails that are almost imperceptible when painted). Your trim will cover up the rough edge of the plywood. It’s handy to have your trim on the bench board extend upwards to create a lip that will help keep your cushions in place so they don’t slide off.
Paint and you are DONE!
We continued on and made custom boxes to fit our space! but you can also just buy baskets or boxes that work for you!
We made a shelf above our window with the scraps. You’ll notice our L brackets that support the shelf are upside down and on the top of the shelf. This is my trick for creating a cheater floating shelf! the L brackets are disguised with books and decor, so you’ll never see them!

image description for accessibility: little girl lays on the window seat with one storage box underneath. white wall has been painted blue.
I had experimented with painting an ombre wall, but decided I didn’t love it, and painted it back to white. We finished our boxes, caulked the gaps, and gave everything one last coat of paint.

image description for accessibility: window seat fully installed with storage boxes underneath, and final coat of white paint going on.
Get your preferred storage units under your bench, and decorate! See how I hid those shelf brackets with decor? So tricky! Our blanket ladder was a purchase a few years ago from World Market, and our bed tray is from target.
We keep our extra linens and blankets in this area, and it is so handy to have it hidden away in an aesthetic manner.

image description for accessibility: side angle photo of the window seat in the attic alcove, complete with cushions, a shelf with books and candles and clocks above the window, a wooden ladder with blanket draped over, white walls filled with light.
I really hope this ultra-easy 5 step window bench inspires you to create your own little reading nook. This is the perfect ultra-beginner woodworking project for someone who has never even held a drill before.
Get the look here:


Tag me at @HouseofLF if you attempt this project! I would love to re-post your work! Follow along below for more easy house projects!